
Today I finally received my Pow-K+ HAN port reader which I ordered before Christmas as a gift to myself. Also before Christmas, I prepared for this project by sending an e-mail to N1 (my power grid company) requesting the needed encryption keys. Shortly after, I received my GPK 60 and GPK 61 keys and information that they had activated the HAN port on my power meter.
The waiting time was hard, but worth it. I have been very excited about this product, and now I need to share why.
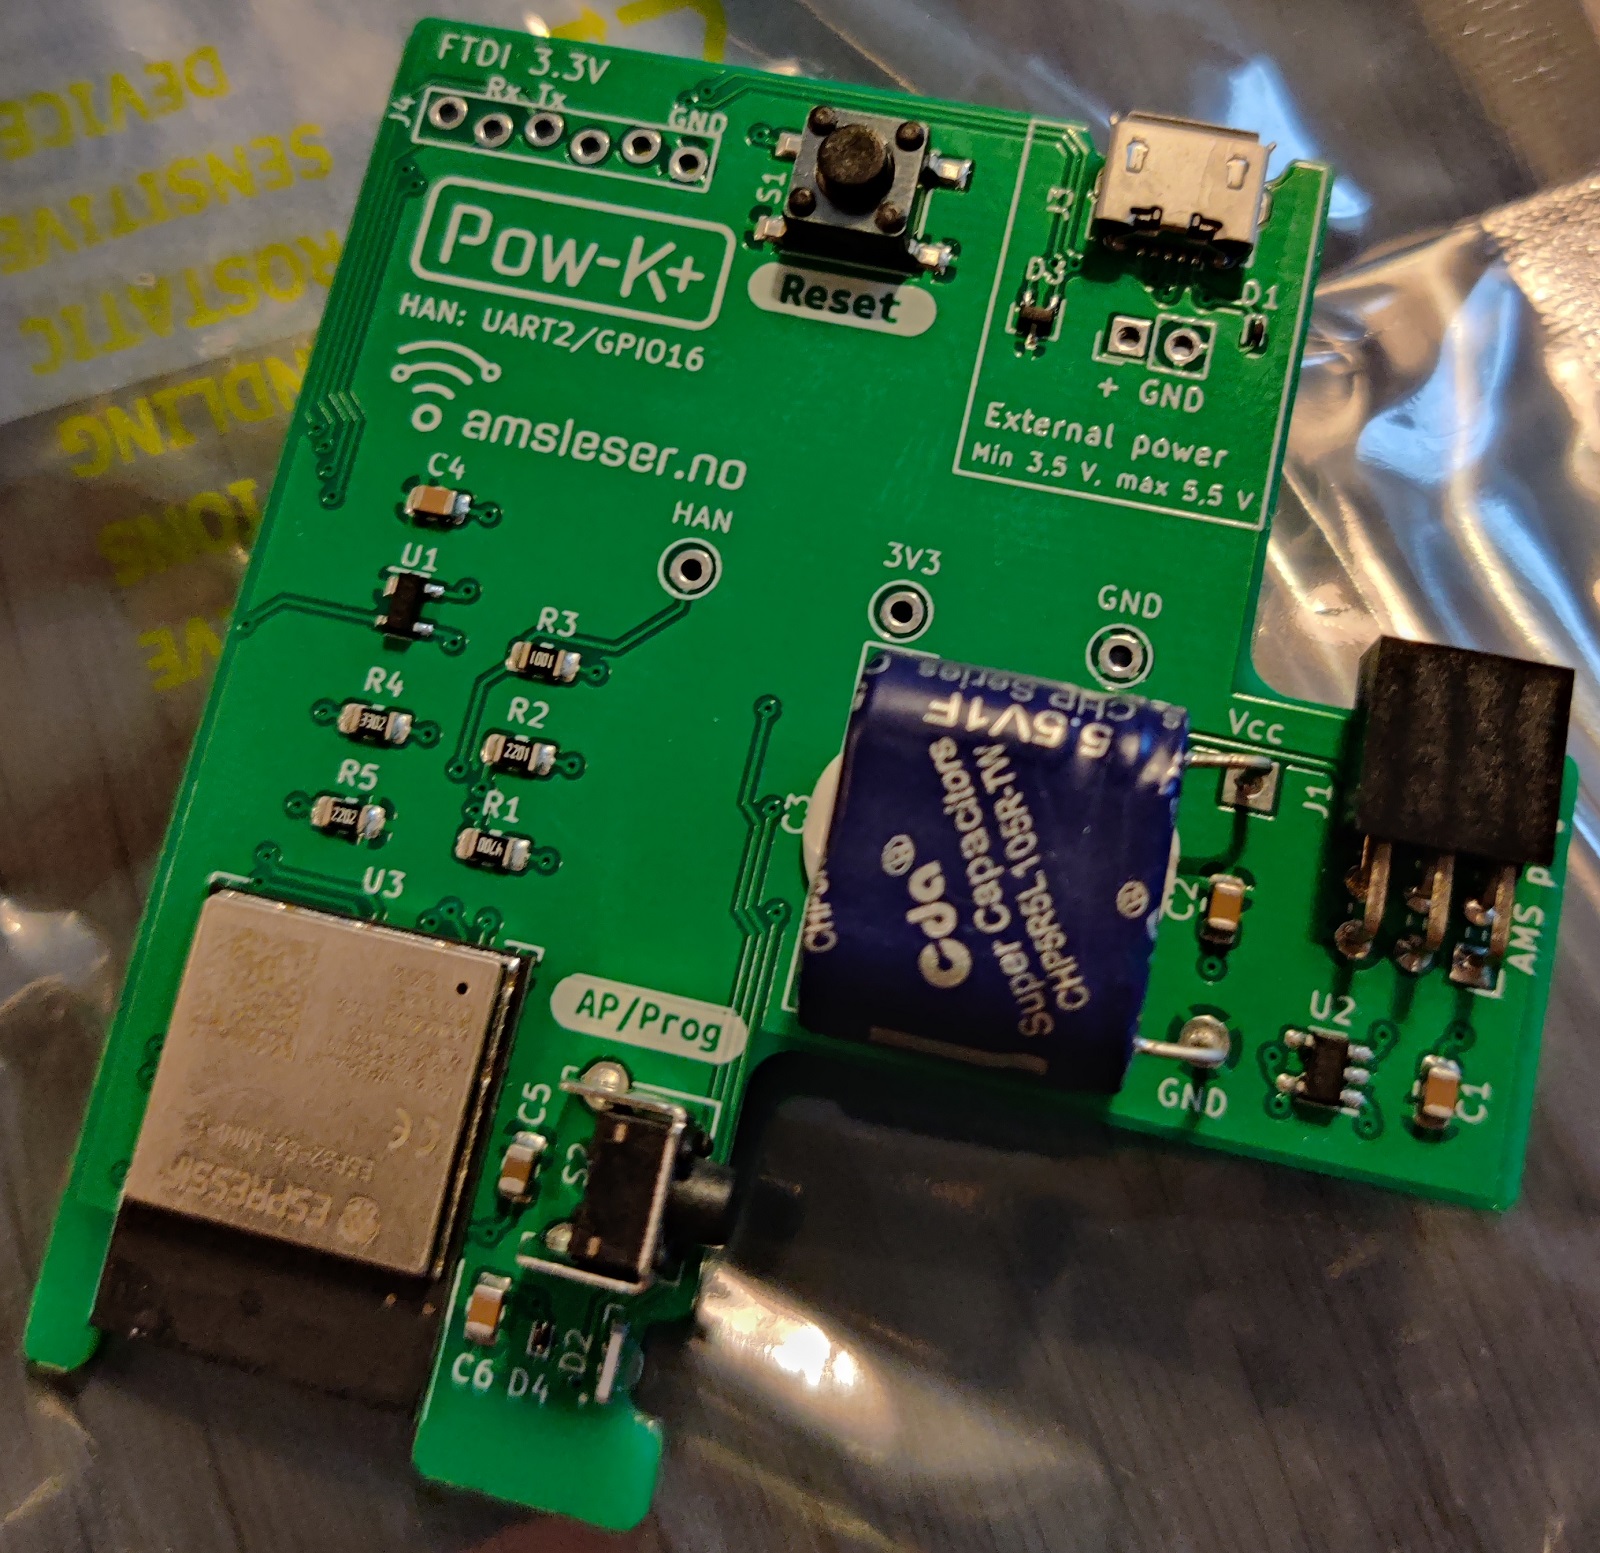
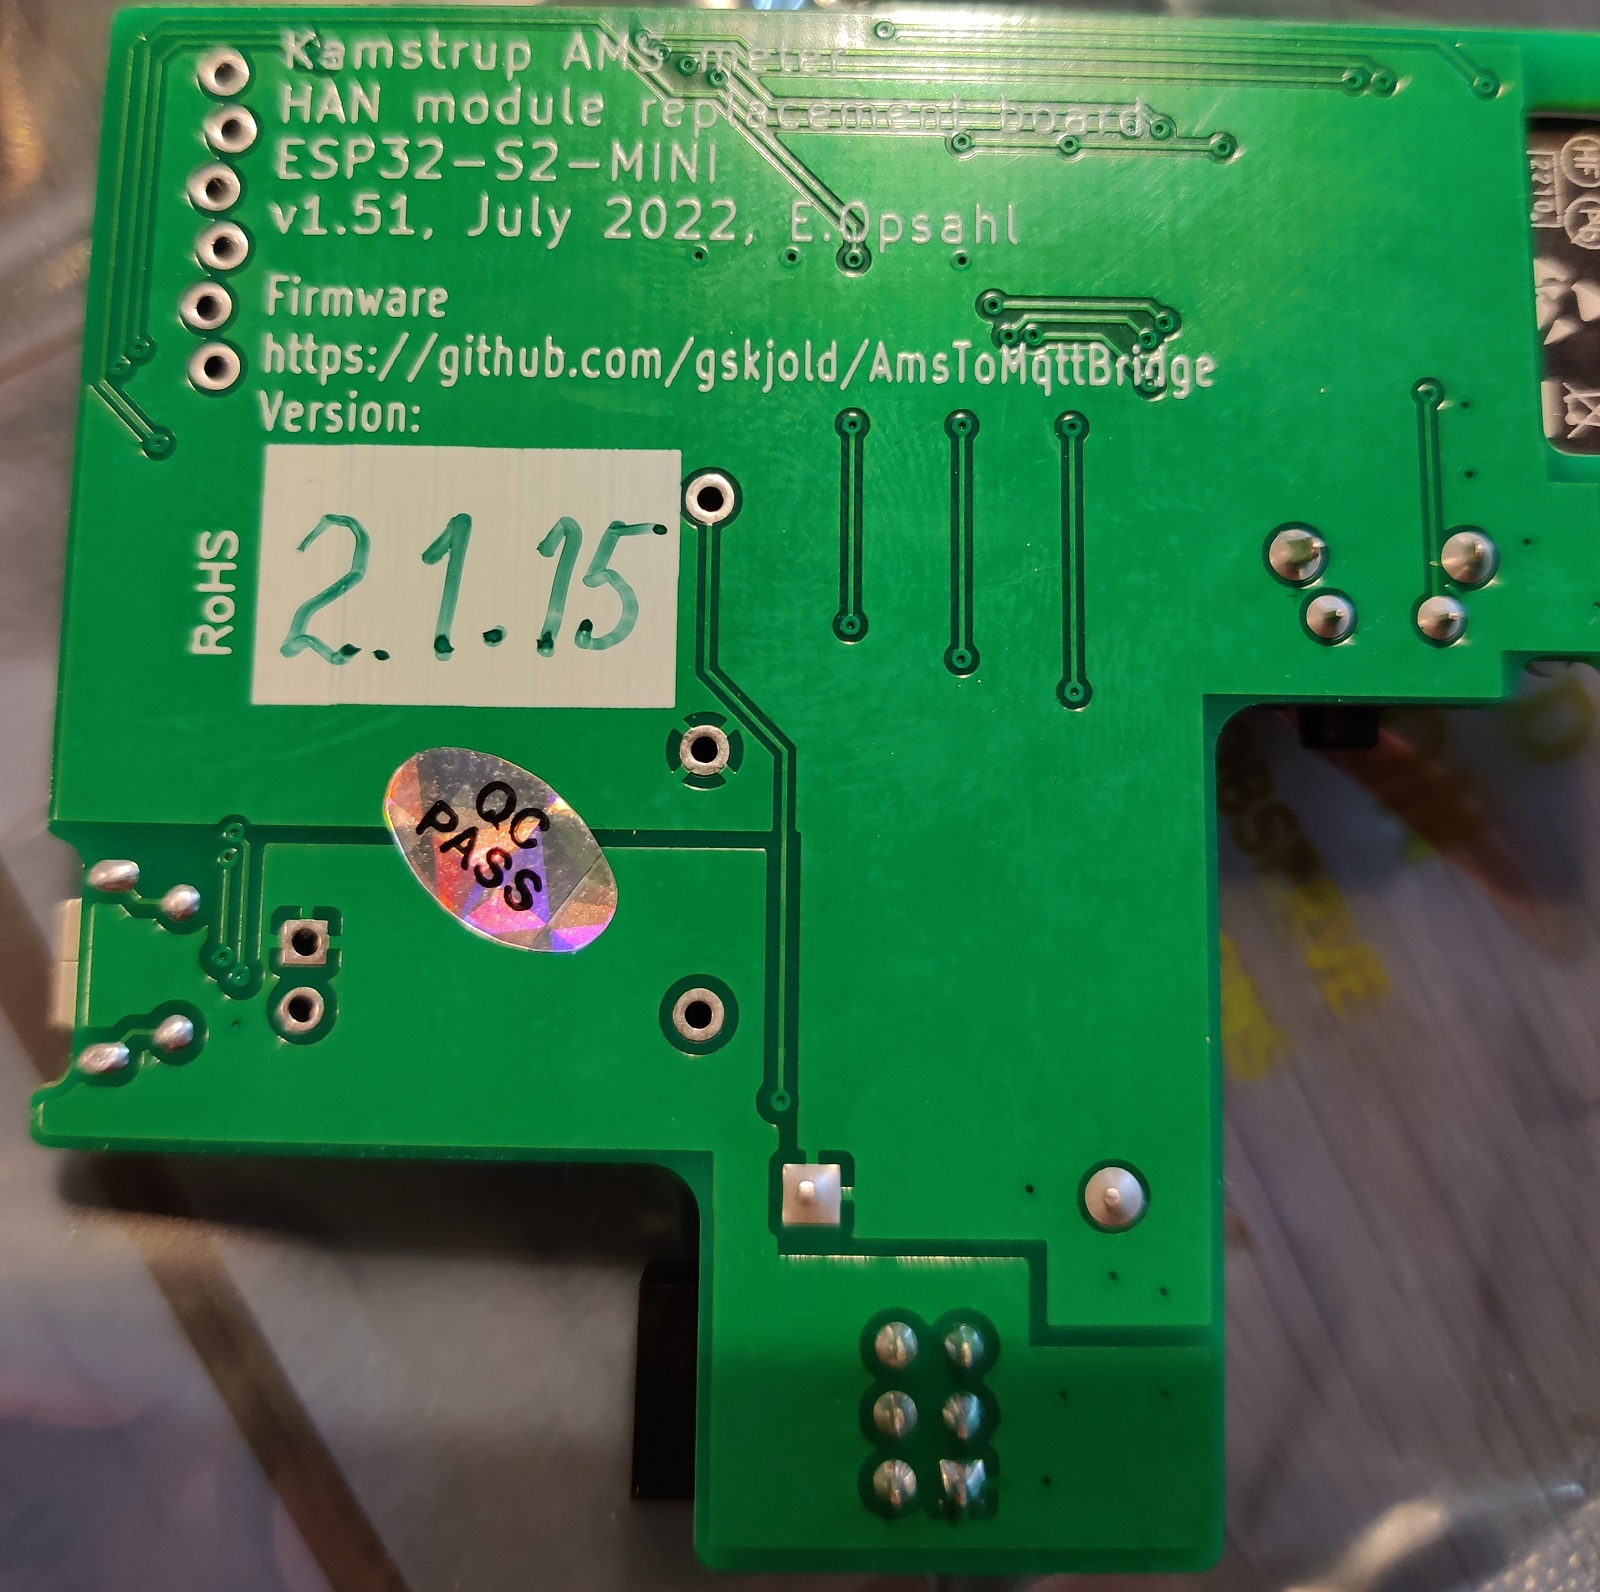
Inside the envelope I found my board:
I immediately realized that I must have made a mistake when I placed my order, since I didn’t have anything to hold or cover this board. Luckily, the STL file for the 3D model is freely available. So I asked a friend for help, who happens to be quite proficient and well-equipped when it comes to 3D printing. So a few hours later I could pick up a nice holder for the board.
Installation
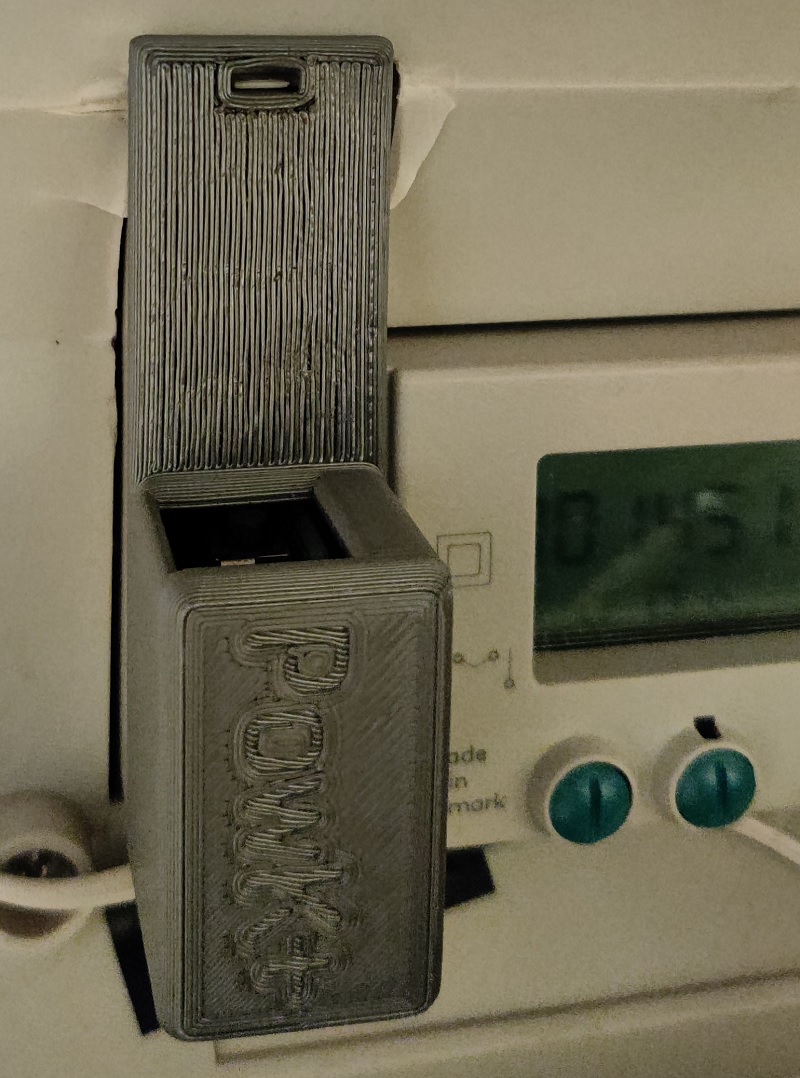
In the meantime I had also received confirmation that this board doesn’t need power from an external source, so can simply be plugged in. Like this (the cable on the picture is not related to this module):
Configuration
And now the impressive part – the configuration. Through the big hole seen on the picture a small button is accessible. After holding it for a few seconds, the module created its own access point, and I could connect to it and make the initial Wi-Fi configuration from my phone (remembering 192.168.4.1 which I had read in the documentation earlier). So I configured my IoT SSID and nothing more, since I planned to assign a static IP from my DHCP server later when knowing its MAC address.
After restarting from this initial configuration, it connected to my Wi-Fi and I could now go to my PC and finish the configuration (and also restart it after configuring a fixed IP address on my router). This required only very few steps, like entering the GPK 60 key as “Encryption key” and the GPK 61 key as “Authentication key”. I also had to select parity, which for Denmark is 8N1. Already at this point I was able to see some useful live data on the main webpage. Literally it was fully working and showing data within a few minutes from plugging it in for the first time.
Now it was time to configure MQTT so I could integrate the meter with my home automation and start logging values in my database. So I went to the MQTT configuration page and entered the hostname of my MQTT broker, a publish topic (I chose “omnimeter”) and “Raw values (minimal)” as payload. That’s it. On my openHAB server, which is also hosting mosquitto, I could then have a peek at the published data:
mosquitto_sub -h localhost -t omnipower/# -d
So with a few more minutes of configuration in openHAB, I started to receive the data I have been so eager to get access to. Like this – from log perspective:
2022-12-29 22:59:52.667 [INFO ] [openhab.event.ItemStateChangedEvent ] - Item 'Omnipower_RSSI' changed from -61 dBm to -62 dBm
2022-12-29 23:00:02.716 [INFO ] [openhab.event.ItemStateChangedEvent ] - Item 'Omnipower_Phase3_Voltage' changed from 238 V to 237 V
2022-12-29 23:00:02.730 [INFO ] [openhab.event.ItemStateChangedEvent ] - Item 'Omnipower_Active' changed from 540 W to 563 W
2022-12-29 23:00:07.901 [INFO ] [openhab.event.ItemStateChangedEvent ] - Item 'Omnipower_Accumulated' changed from 14510.99 kWh to 14511.57 kWh
2022-12-29 23:00:07.928 [INFO ] [openhab.event.ItemStateChangedEvent ] - Item 'Omnipower_Active' changed from 563 W to 499 W
2022-12-29 23:00:14.096 [INFO ] [openhab.event.ItemStateChangedEvent ] - Item 'Omnipower_Active' changed from 499 W to 569 W
2022-12-29 23:00:22.610 [INFO ] [openhab.event.ItemStateChangedEvent ] - Item 'Omnipower_Active' changed from 569 W to 520 W
For now, no graphs, just integration. And a sitemap as seen from the openHAB Android app:

Conclusion
I’m very impressed by this product because it just works, and without any issues when installing and configuring it. Meter configuration, Wi-Fi configuration and even MQTT just worked without any hassle or problems. Thank you Egil Opsahl and Gunnar Skjold for making this possible, and I can only give my warm recommendation of this product.
Oh, I forgot to mention that Pow-K+ will receive data every 10 seconds and can be purchased for approximately a third of the price of a SmartMe HAN module which has a cloud dependency (basically making it an inferior product). And it’s Open Source!